
Setting up a Game Boy development environment on a Raspberry Pi
This is a log of how I set up a Game Boy development environment on a raspberry pi. It’s not intended to teach you Z80 assembly, game development, or anything else.
Why
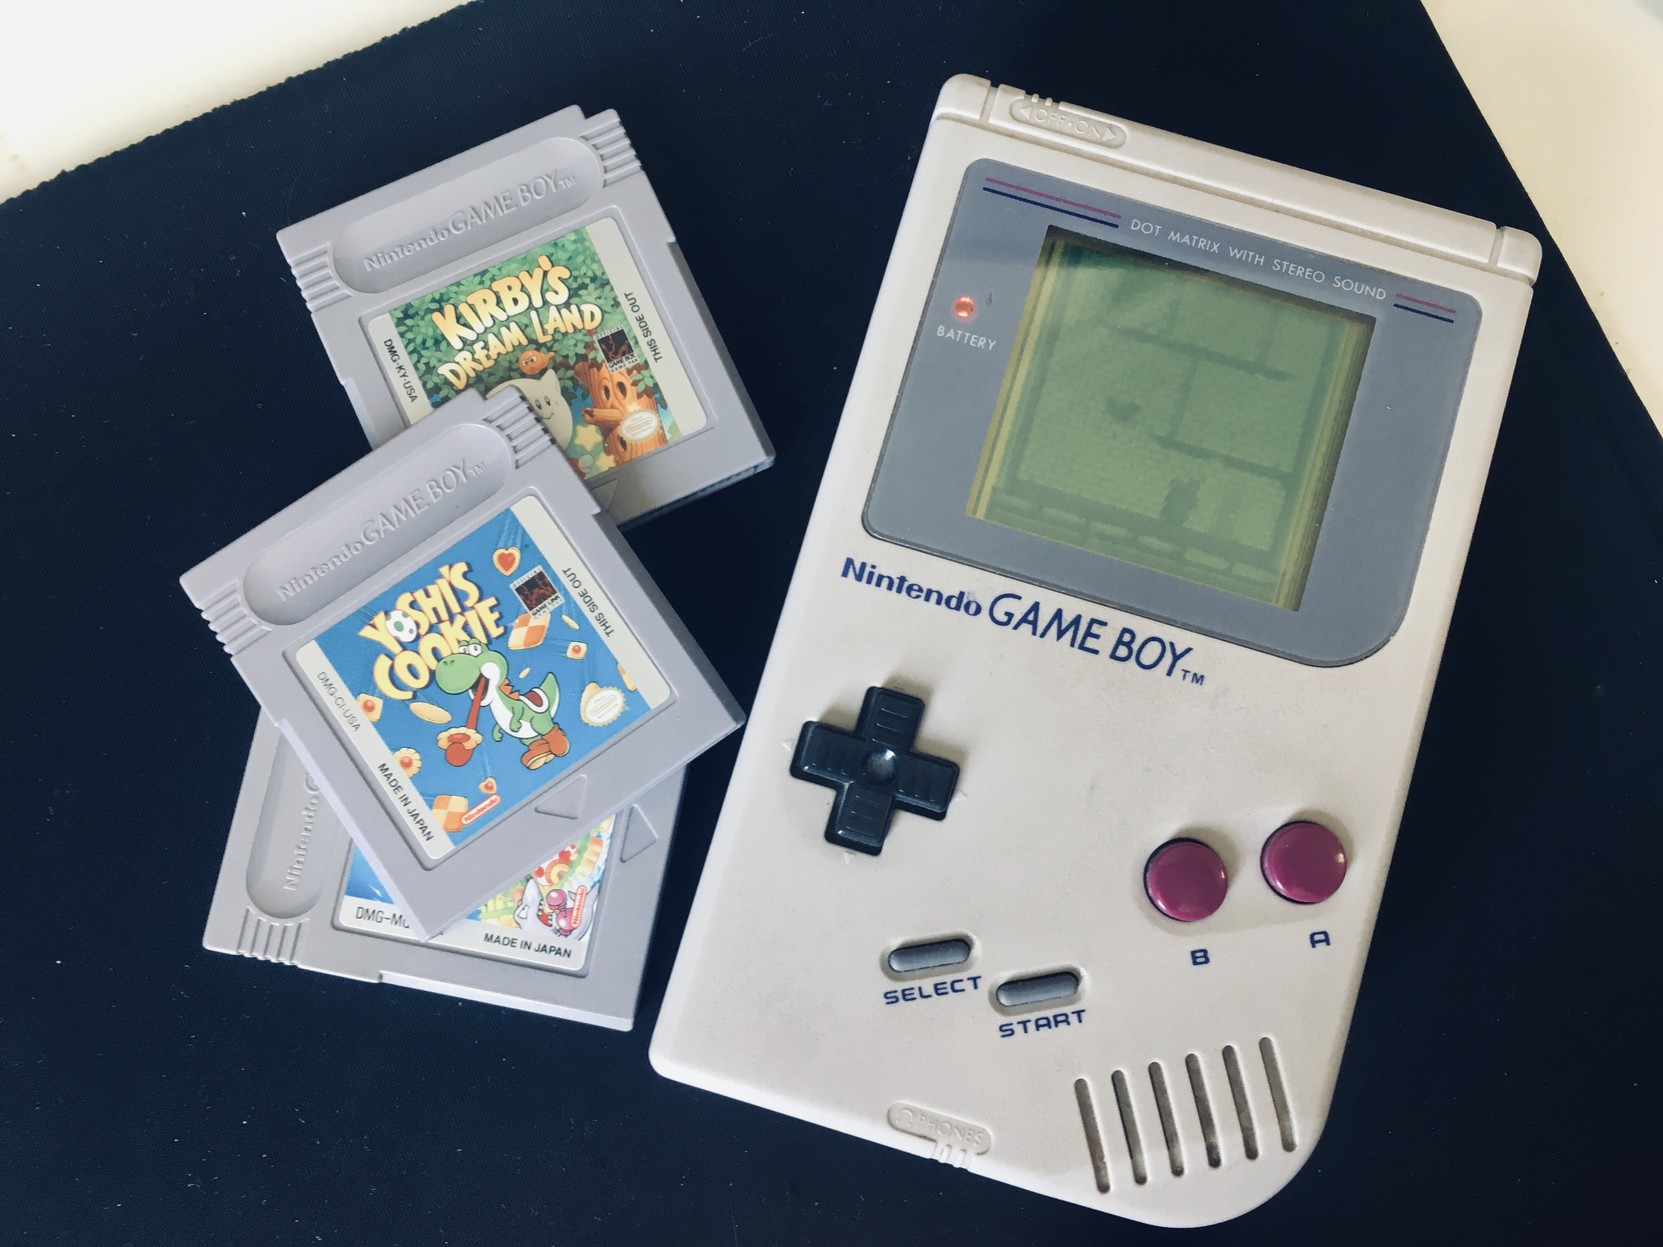
The Game Boy was a popular handheld gaming machine and there are many functional devices still in circulation, not to mention the legions of clones and emulators capable of playing the Game Boy library. Even modest hardware can emulate the Game Boy and gain access to thousands of games, many of which are still enjoyable even today. This results in an enduring audience of players and developers, so making the platform a viable target for publishing games to even in 2023.
Developing for the Game Boy possibly requires even less capable hardware than playing the games, but probably any device capable of viewing this blog post is vastly more powerful than is required to develop for this platform.
The hardware
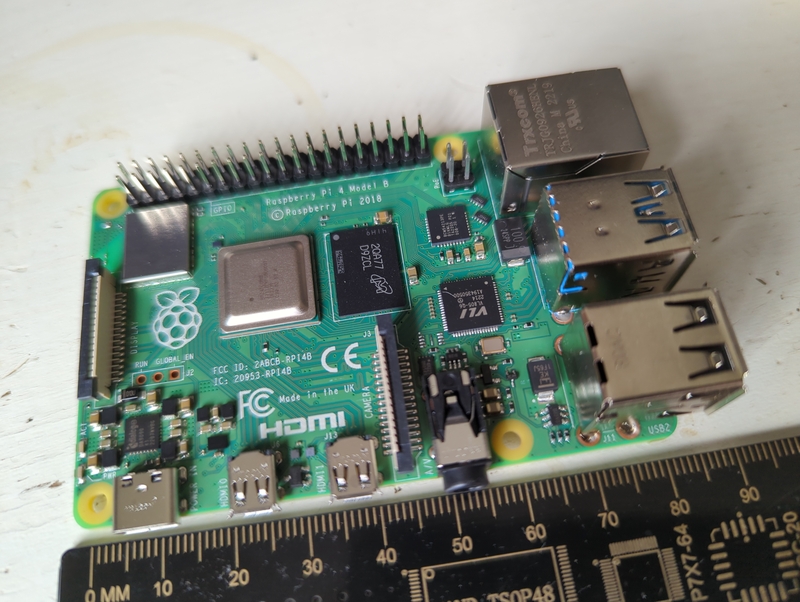
I’m using a Raspberry Pi 4 with 8GB of RAM as my development machine, running ‘RaspberryPiOS’, which is Debian Linux. I’ll be deploying games to a real Game Boy via a cartridge writing system and compatible cartridges.
I also have a Game Boy Color to hand, and developing for either the colour or original monochrome Game Boy is largely an identical process. Both use a custom Z80 family microprocessor, and many Z80 assemblers can output compatible machine code.
Software
To make Game Boy games, the following is needed:
- A text editor, to write the code,
- An assembler, to convert Z80 assembly to machine instructions,
- A graphics editor, to draw the visual elements of the game. This can be done on paper and bytecode manually calculated, but I’d rather have the computer do that for me.
- An audio editor, for creating sound effects and music. Again this can be done manually but it’s a lot easier with some good tools.
- An emulator to test the game, preferably with a good debugger.
- Flashing software to write the games to a physical cartridge.
Text editor
You can use whatever editor you like, but I’m using vim. VSCODE (or its free and open source alternative ‘CODE’) are also great choices that I’ve experimented with. Z80 Syntax highlighting is probably available for many programming focused editors.
Assembler and toolchain
The RGBDS suite provides a complete toolchain for assembling Game Boy roms, as well as processing common formats of graphics files into something usable on the game console.
RGBDS isn’t available in the Debian aarch64 repositories, so I’m building it from source.
$ git clone https://github.com/gbdev/rgbds
$ cd rgbds
$ make
$ sudo make install
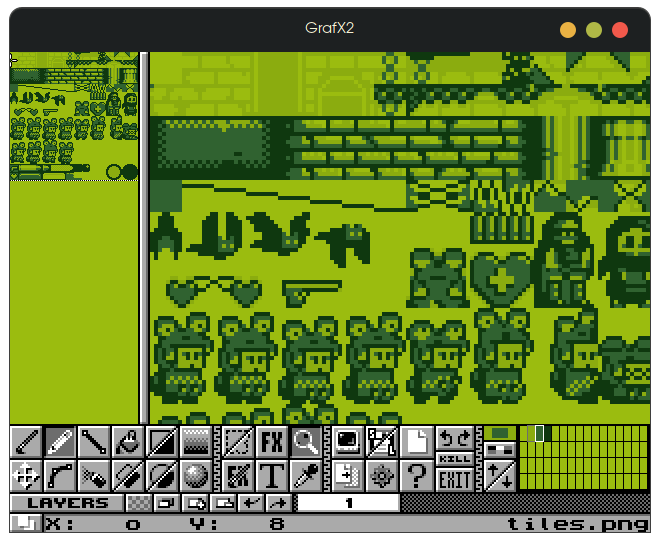
Graphics Editor
Aseprite or other popular modern pixel focused graphics editors can be made to work on a Raspberry Pi, but I’ve decided to go with Grafx2, a free and open source editor inspired by Deluxe Paint, which is the first ‘serious’ graphics program I ever used. Any tool that can work with indexed graphics formats (where the image file contains a limited palette that all pixels index into) should work.
Grafx2 is available in the Debian repositories, but I built from source for a more up to date version.
$ sudo apt install libsdl2-dev libsdl2-image-dev libsdl2-ttf-dev
$ git clone https://gitlab.com/GrafX2/grafX2
$ cd grafx2/src
$ make release API=sdl2
$ sudo make install API=sdl2
Audio Editor
In the past I’ve used the nice Carillion Game Boy music/sfx editor and driver, which is fun because you’re making the music and sfx on an actual game boy, so you get an accurate representation of how things will sound. It’s not the quickest workflow however, and I’m going to try hUGETracker for this setup, which will let me compose on the raspberry pi.
$ sudo apt install lazarus
$ git clone --recursive https://github.com/SuperDisk/hUGETracker
$ cd hUGETracker
$ lazbuild --add-package-link src/rackctls/RackCtlsPkg.lpk
$ lazbuild --add-package-link src/bgrabitmap/bgrabitmap/bgrabitmappack.lpk
$ ./setup-linux.sh
$ cd src
$ lazbuild hUGETracker.lpi --build-mode="Production Linux"
As of 2023-03-22 this threw some errors about DisabledFontColor being undefined in tracker.pas, so I commented out lines 1178 and 1188 in tracker.pas and rebuilt without issue.
hUGETracker will error out if you try and launch it without its expected collection of bundled files in the right places, so next download the x86 version and unzip it somewhere.
$ cd Downloads
$ wget https://github.com/SuperDisk/hUGETracker/releases/download/v1.0.0/hUGETracker-1.0.0-linux.zip
$ unzip -d hUGETracker hUGETracker-1.0.0-linux.zip
Finally copy our freshly built hUGETracker to the downloaded release, overwriting the incompatible x86 executable
$ cp ~/Src/External/hUGETracker/src/Release/hUGETracker ~/Downloads/hUGETracker/
Finally we can run our aarch64 hUGETracker build.
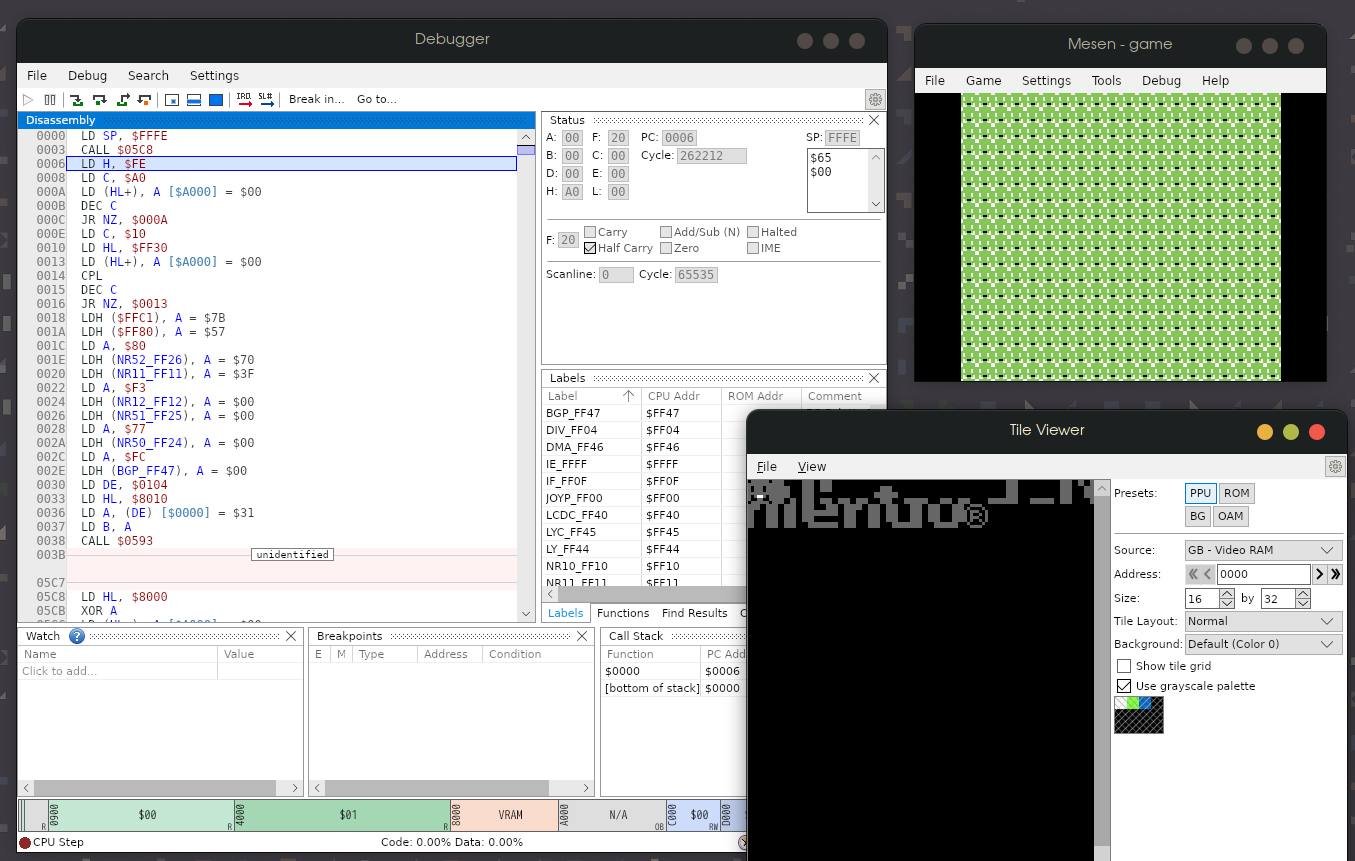
Emulator
I’m using Mesen2, which I set up previously for the Raspberry Pi previously for NES development
Building a test ROM
Now that we have the tools, let’s make some salad. Grab the GB standard definitions file and write your Game Boy code, this example borrowed from https://daid.github.io/rgbds-live
; Simple example to show how to load initial graphics data into VRAM.
; This is only applicable during initial start of your rom, as it disables the LCD
; to get full access to VRAM. This will make the screen white during this time.

INCLUDE "hardware.inc"

SECTION "graphics", ROM0
graphicTiles:
  ; Graphics data, below contains 3x the same 8x8 graphics tile in different formats.
  ; Prefered way would be to use INCBIN with rgbgfx, which is currently not possible in rgbds-live.
opt g.123
  dw `.111111.
  dw `11111111
  dw `1.111.11
  dw `1.111.11
  dw `11111111
  dw `1.1331.1
  dw `1..11..1
  dw `.111111.
.end:

SECTION "entry", ROM0[$100]
  jp start

SECTION "main", ROM0[$150]
start:
  call disableLCD
  call loadTiles
  call loadPalette
  call enableLCD

haltLoop:
  halt
  jp   haltLoop

disableLCD:
  ; Disable the LCD, needs to happen during VBlank, or else we damage hardware
.waitForVBlank:
  ld   a, [rLY]
  cp   144
  jr   c, .waitForVBlank

  xor  a
  ld   [rLCDC], a ; disable the LCD by writting zero to LCDC
  ret

loadPalette:
  ld   a, %11100100
  ld   [rBGP], a
  ret

; Load the graphics tiles into VRAM
loadTiles:
  ld   hl, graphicTiles
  ld   de, graphicTiles.end - graphicTiles  ; We set de to the amount of bytes to copy.
  ld   bc, _VRAM

.copyTilesLoop:
  ; Copy a byte from ROM to VRAM, and increase both hl, bc to the next location.
  ld   a, [hl+]
  ld   [bc], a
  inc  bc
  ; Decrease the amount of bytes we still need to copy and check if the amount left is zero.
  dec  de
  ld   a, d
  or   e
  jp   nz, .copyTilesLoop
  ret

enableLCD:
  ld   a, LCDCF_BGON | LCDCF_BG8000 | LCDCF_ON
  ldh  [rLCDC], a
  ret
We can then build a ROM
$ rgbasm main.asm -o main.o
$ rgblink -o game.gb main.o
$ rgbfix -v game.gb -p 0xff
And run it in an emulator for debugging!
Flashing the ROM to a cartridge
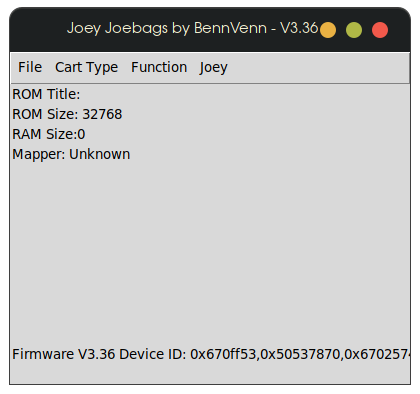
This will differ wildly depending on your flash hardware. Many ‘flash’ carts have an SD card slot or USB socket to allow you to easily copy files onto it - but I’m doing something slightly different and making a ‘one game’ cartridge using a dedicated cart flasher named ‘Joey Joebags’ by BennVenn, which comes with its own python application to interface with the flasher.
The cartridge is plugged into the flasher, which is in turn connected to the Raspberry Pi via a USB cable.
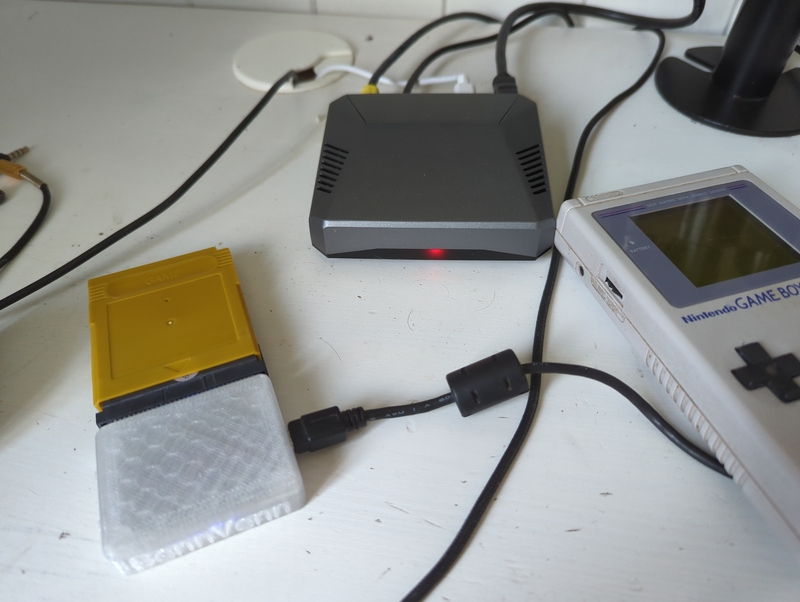
Such a tiny rom takes only a second or two to write to the cart, which can then be inserted into a Game Boy and played like any other game.
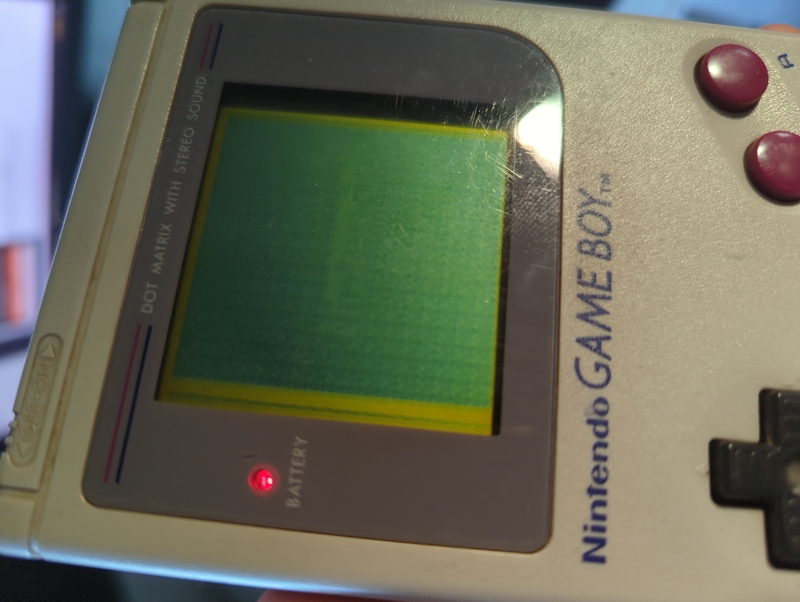
Effective Game Boy photography is left as an exercise for the reader.