Setting up a Dreamcast development environment on Raspberry Pi
This is a guide on one way of setting up a modern development system for the 1999 Dreamcast console. The easiest method for Windows users is probably DreamSDK, which provides a slick automated install of preconfigured tools to get you up and running quickly, but that’s not what I’ll be covering here.
The hardware
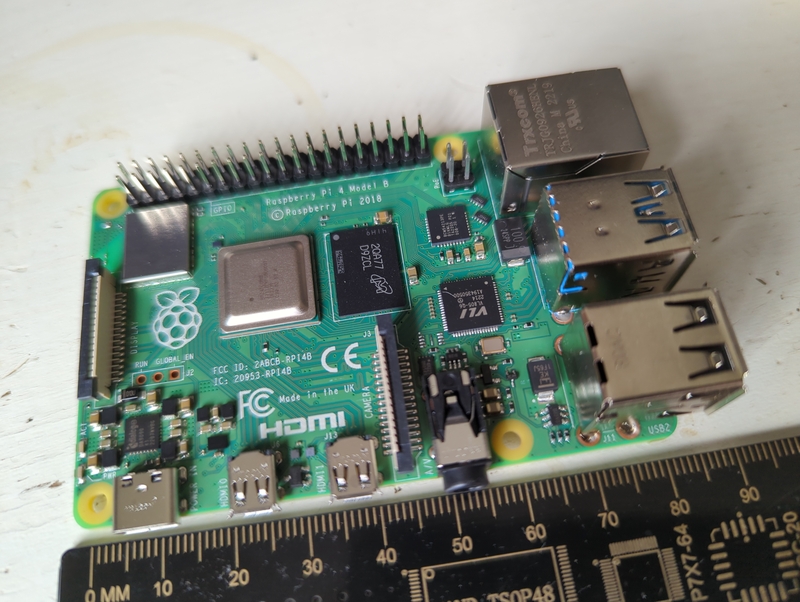
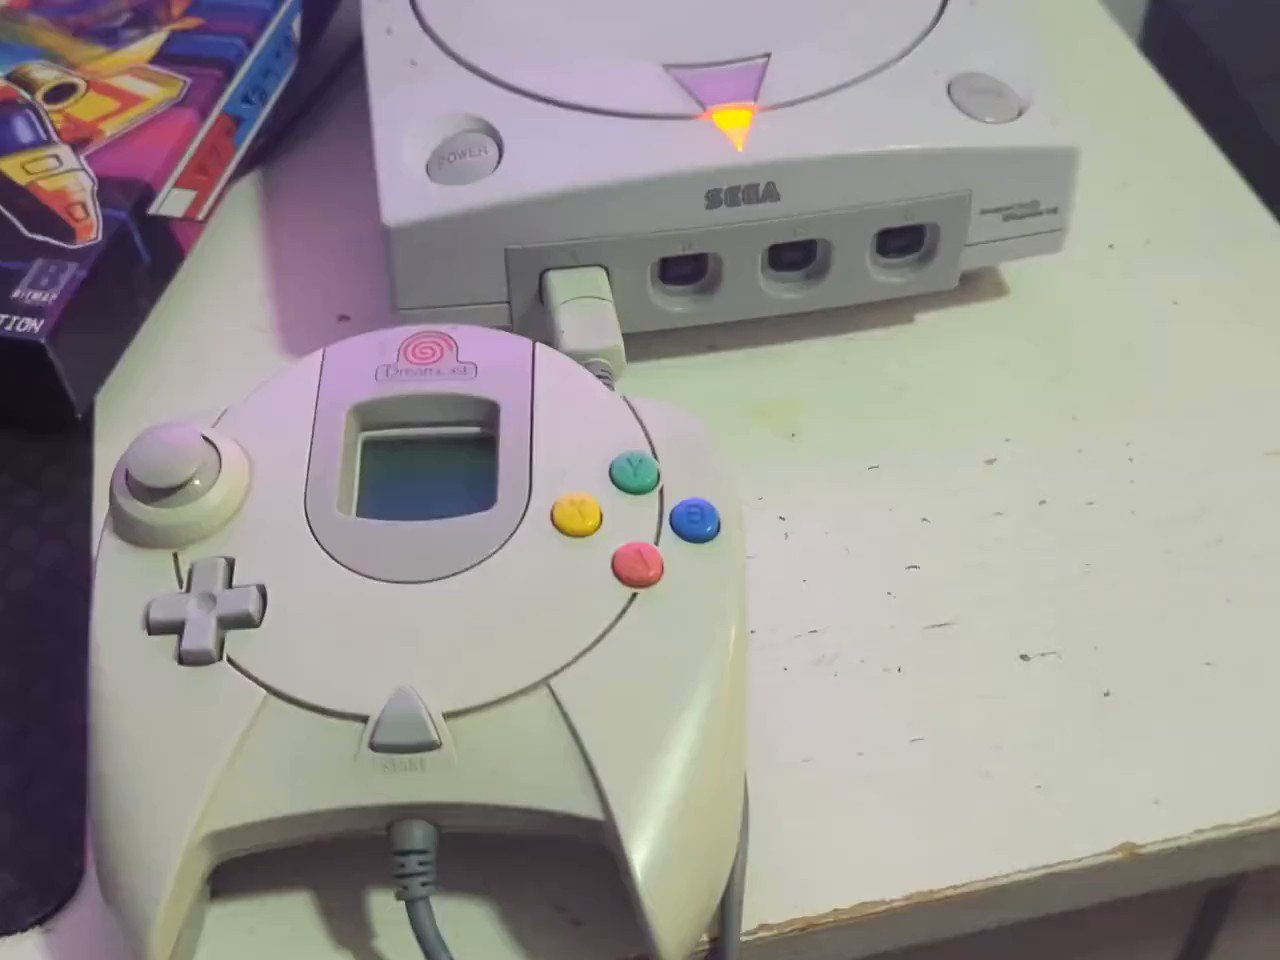
I’m using a Raspberry Pi 4 with 8GB of RAM, running ‘RaspberryPiOS’ (Debian) Linux, and a VA-0 Dreamcast equipped with a HIT-0400 Broadband Adapter.
Software
To make Dreamcasct software, the following is needed:
- A cross compilation toolchain to convert the program code to machine instructions understood by the Dreamcast CPU,
- KallistiOS, a library providing an interface to the various Dreamcast hardware components,
- A text editor, to write the code,
- Graphics editors
- Audio editors
- Optionally an emulator to test the software on the development machine, preferably with a good debugger.
- dcload-ip - a tool that boots a real Dreamcast and allows for code to be deployed to it over the network, making it possible to test and debug software without writing each iteration to a cd-r.
Cross compilation toolchain
Unless you’re typing code directly into a Dreamcast, you probably need a cross-compilation toolchain that can produce machine code for the SH-4 ‘SuperH’ CPU that it uses.
KallistiOS provides a helper script to produce such a toolchain.
$ git clone https://github.com/KallistiOS/KallistiOS/ /opt/toolchains/dc/kos
Documentation is found in the KallistiOS/doc directory, though some aspects are out of date.
Building the toolchain:
$ apt install libc6-dev-sh4-cross gawk patch bzip2 tar make libgmp-dev libmpfr-dev libmpc-dev gettext wget libelf-dev texinfo bison flex sed git build-essential diffutils curl libjpeg-dev libpng-dev python3 pkg-config libisofs-dev meson ninja-build
$ cp doc/environ_sh.sample ./environ_sh
$ cd utils/dc-chain
$ cp config.mk.testing.sample config.mk
$ ./download.sh
*** Downloader Utility for Sega Dreamcast Toolchains Maker (dc-chain) ***
Downloading Binutils 2.40...
Downloading GCC 12.2.0...
Downloading Newlib 4.3.0.20230120...
Downloading GCC 8.4.0...
Downloading config.guess...
Done!
$ ./unpack.sh
*** Unpacker Utility for Sega Dreamcast Toolchains Maker (dc-chain) ***
Preparing unpacking...
Unpacking Binutils 2.40...
Unpacking GCC 12.2.0...
[...]
Done!
$ make -j5
Take a coffee break or three while this builds. On a raspberry pi 4 this took around five hours.
Next I want gdb for remote debugging support
$ make gdb
After a much shorter but not insignificant wait, the cross build toolchain is ready. Unneeded downloads can now be automatically deleted with $ ./cleanup.sh
KallistiOS
From the kos root dir (/opt/toolchains/dc/kos)
$ source environ_sh
$ make
Which results in lib/dreamcast/libkallisti.a
This is all we need to build Dreamcast executables, but more steps are needed to build them in a useful way that can be run directly on the console, and we’ll also want some libraries to do helpful things like load image files and render 3D environments.
Kos-Ports
Kos-Ports is a collection of libraries that might be useful, ported to KallistiOS
$ cd /opt/toolchains/dc
$ git clone https://github.com/KallistiOS/kos-ports
Each can be built by entering its subdirectory and performing a make install
GLdc
If you want to use OpenGL for writing Dreamcast graphical software like I do, you will probably want to remove the kos-ports libGL and replace it with the much newer GLdc
$ cd /opt/toolchains/dc/kos-ports
$ rm -rf libGL
$ git clone https://gitlab.com/simulant/GLdc
$ cd GLdc
$ mkdir dcbuild
$ cd dcbuild
$ cmake -DCMAKE_BUILD_TYPE=Release -DCMAKE_TOOLCHAIN_FILE=../toolchains/Dreamcast.cmake -G "Unix Makefiles" ..
$ make
The cmake invocation differs from the official guide at https://gitlab.com/simulant/GLdc in that it produces the higher performance release version. Omit -DCMAKE_BUILD_TYPE=Release if that’s not what you want.
Ready built environment
An archive of the environment built as described up to this point is available here. It’s only useful if you’re on aarch64 linux.
To be continued
Want to know how to actually use this environment to build a dreamcast game? Better remind me to write the followup article!